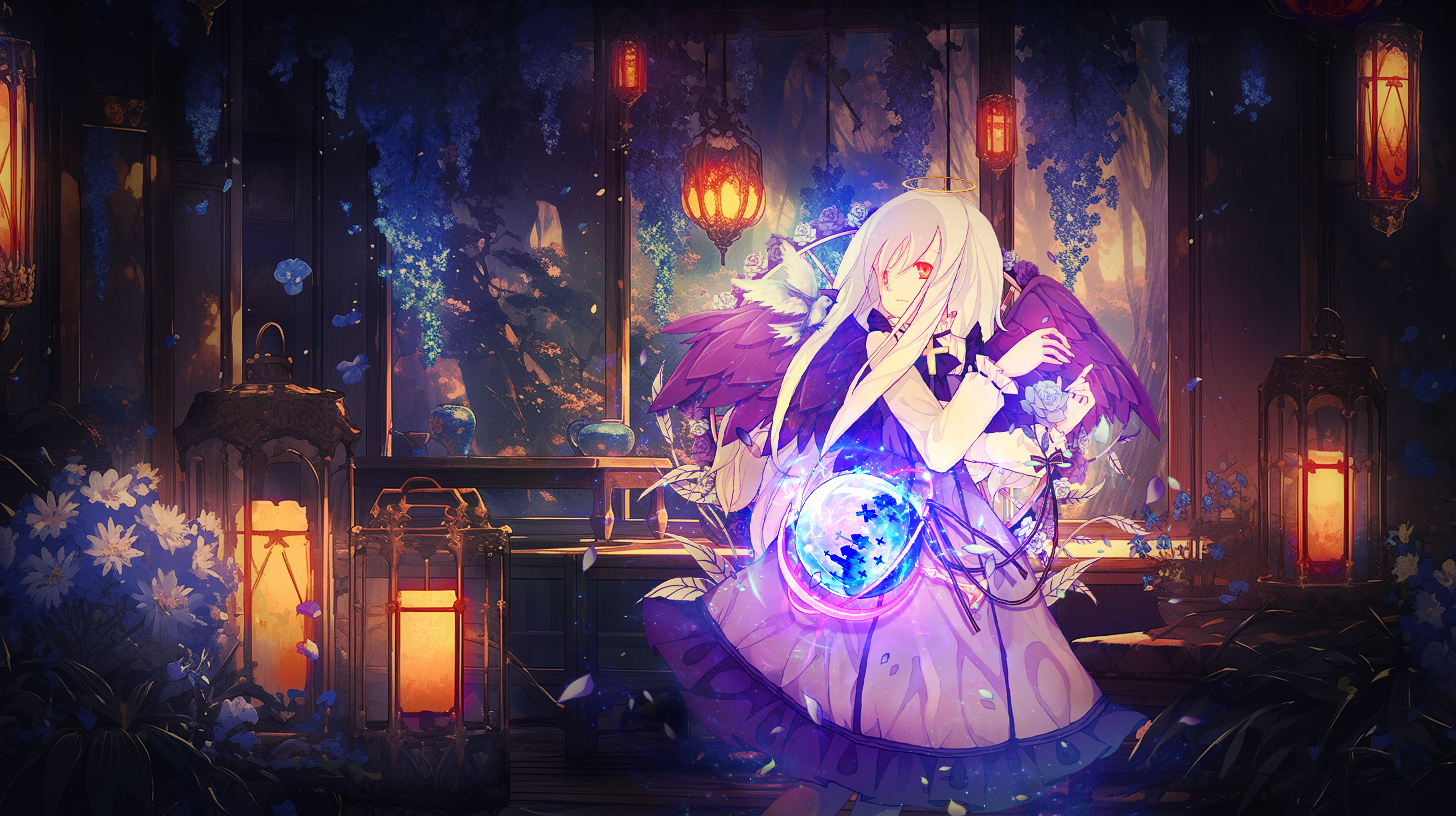

Floral header photoshop tutorial12/2/2024
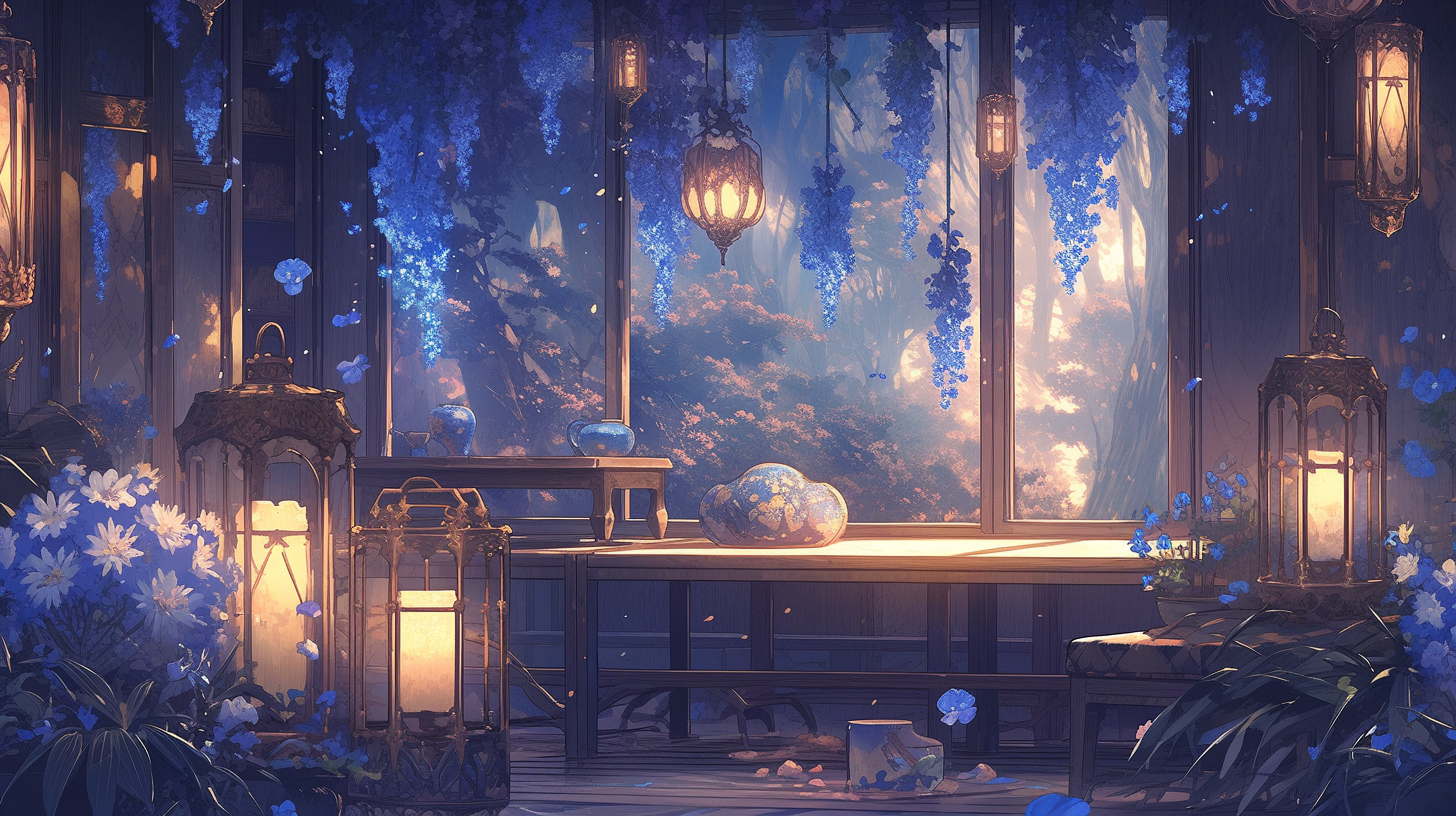
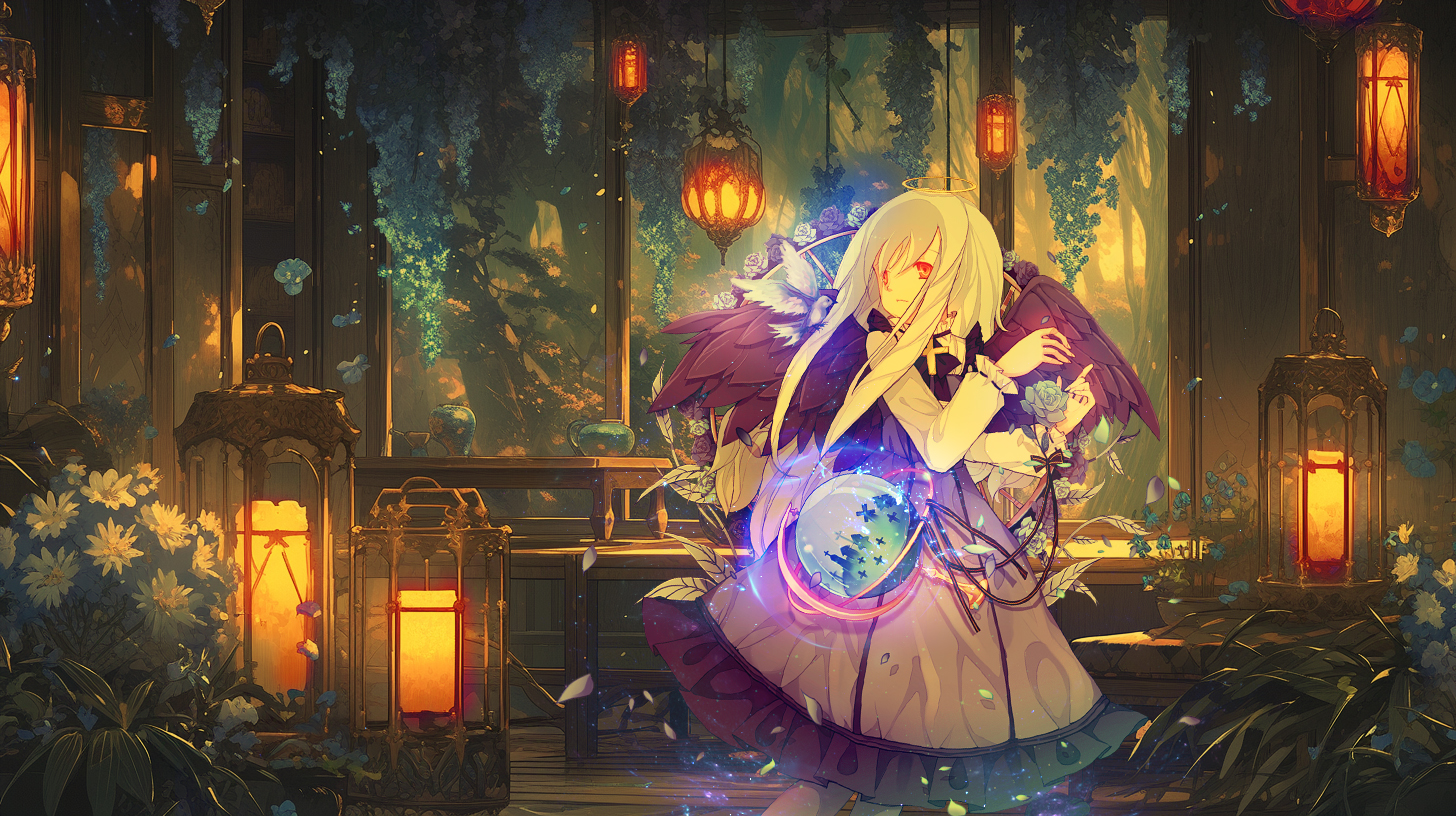
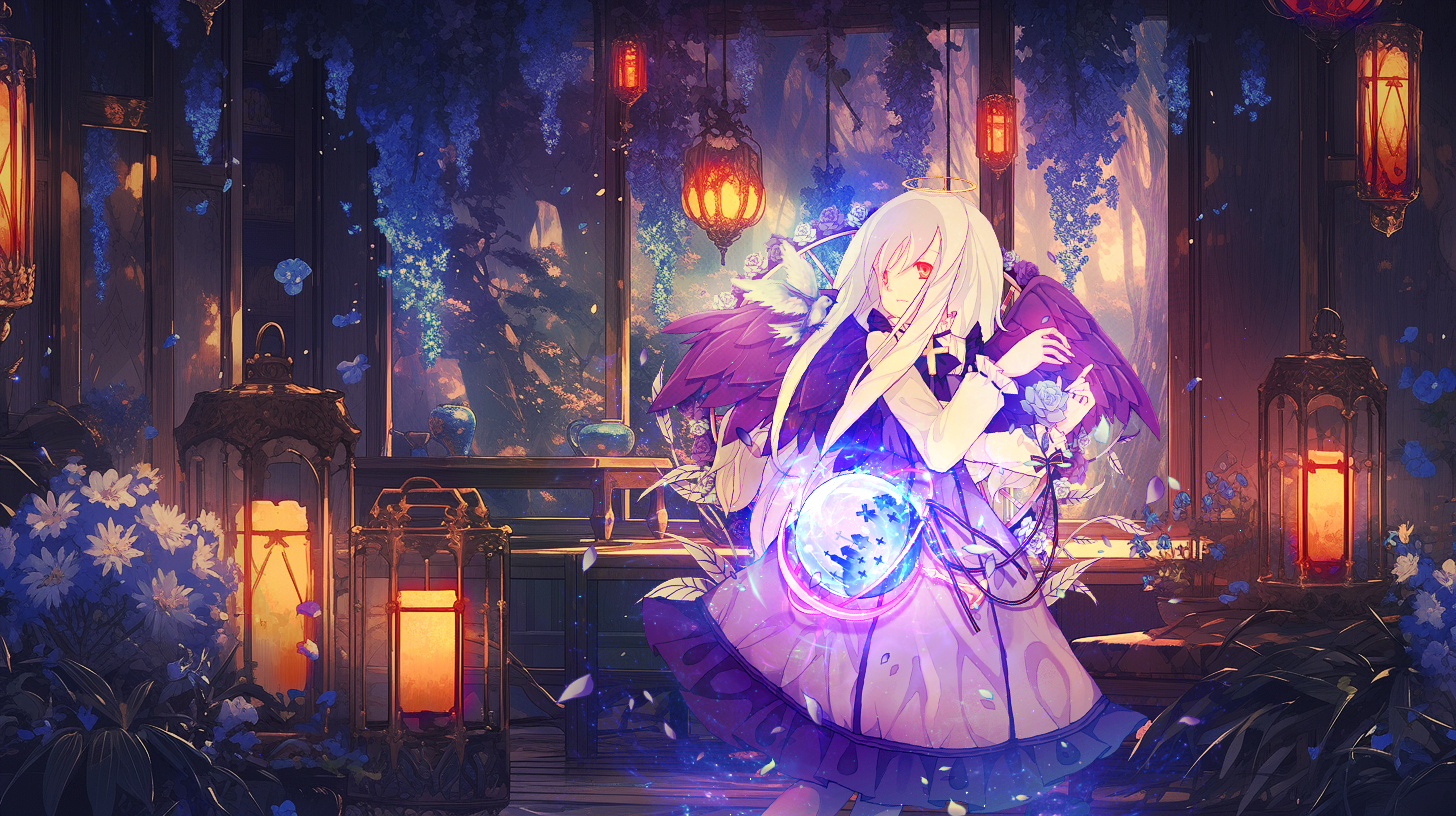
I start off by using this beautiful free AI generated background as a base to set the scene.

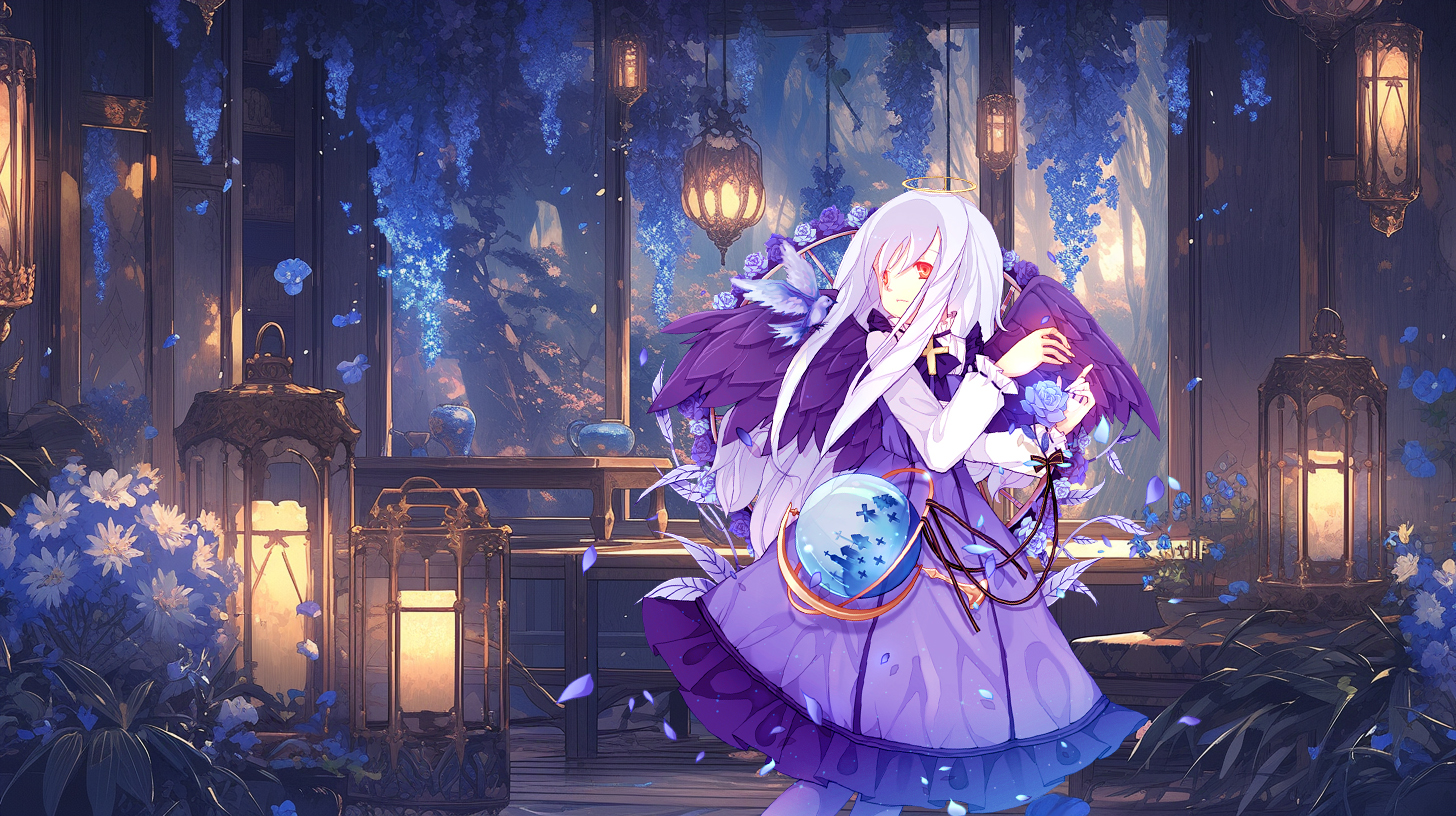
Next I position my character render in the environment. Using the Marquee Tool, hold Ctrl + Click on the character layer, then Ctrl + N to create a new layer. I fill the selection on the new layer with the Paint Bucket Tool in #a40102. Apply Saturation blend mode on this layer at 42% opacity.

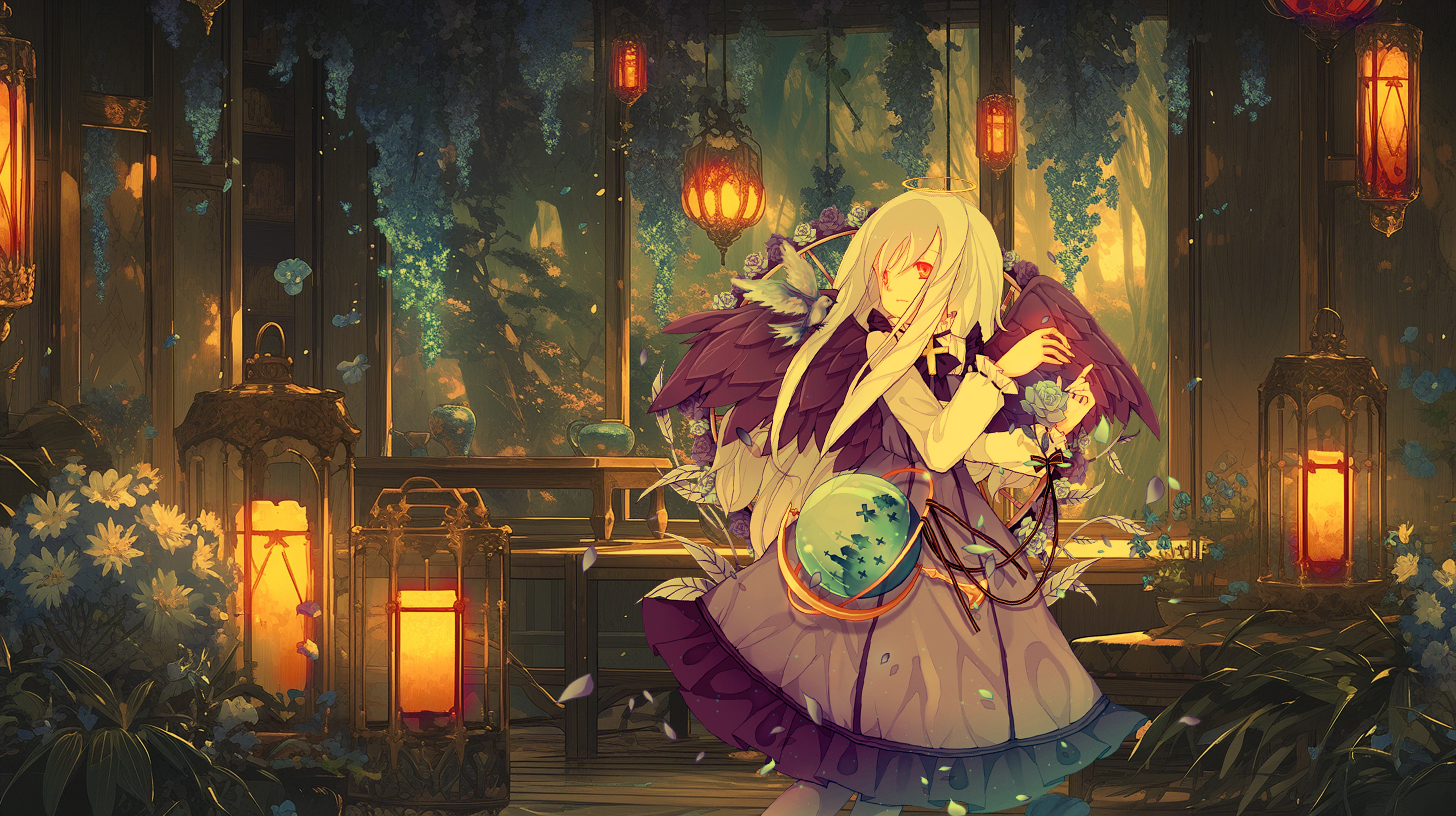
Now I'm adding a soft glow to all the lamps in the scene by roughly colouring them with a Brush Tool in #e4b300 and using Saturation blend mode at 46% opacity.

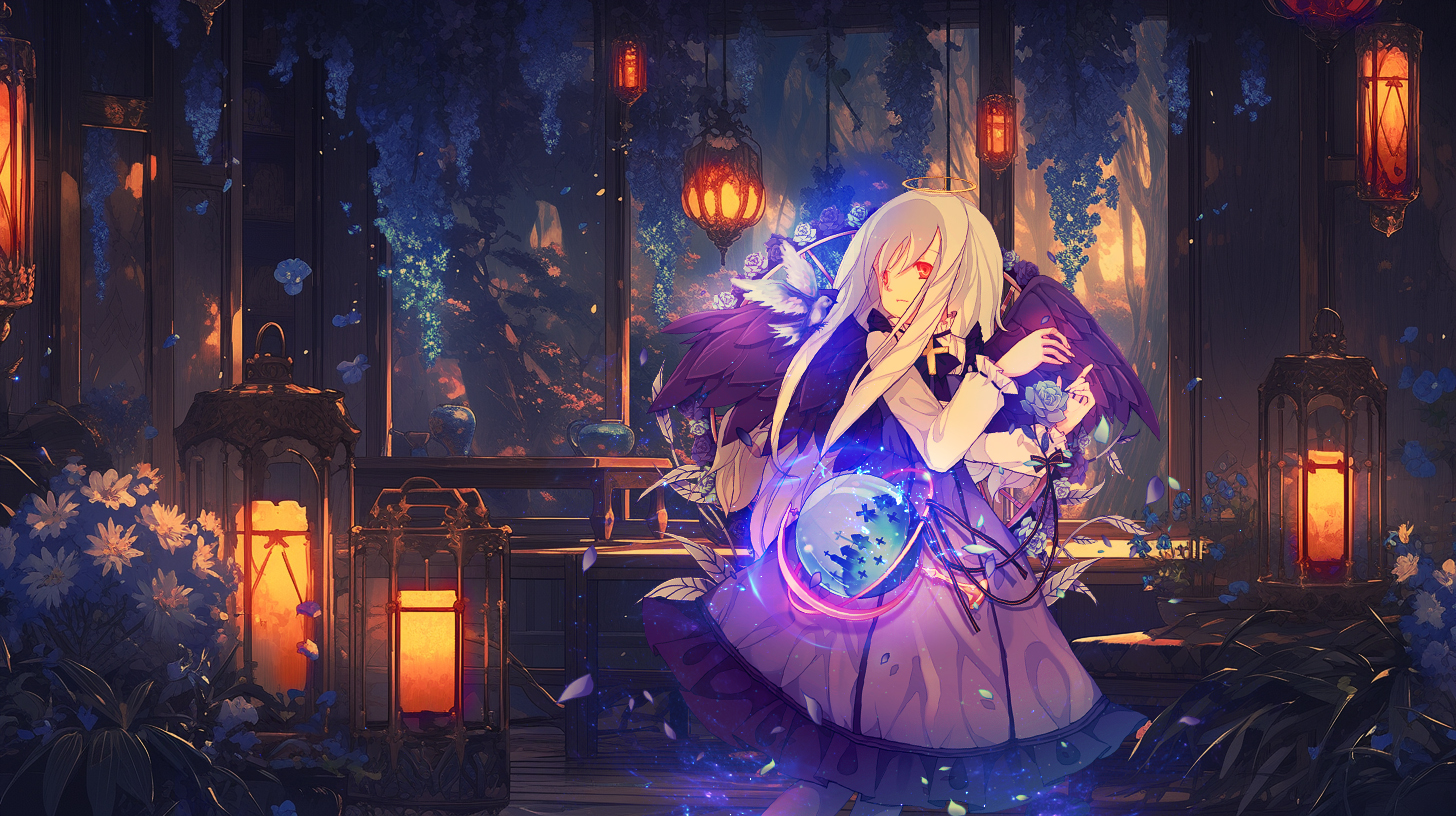
Add a #ffcc00 Color Fill adjustment layer with Multiply blend mode at 58% opacity.

This is the bit where I experiment and play around with textures. I use a fractal set from infinity-dreamer ("42a" + "28a" used) and sparkly starfield texture from dmaland ("afternova" used). All textures have a Lighten blend mode at 100% opacity. I also used segments texture from Aroma of Desire to add a blue glow on the roses (Hard Light blend mode at 27% opacity / Linear Light at 61% opacity). When using textures I tend to play around with positioning, blend modes and opacity then using Polygonal Lasso Tool with about 10-20px Feather to have a soft fade around them.

Now I add a #2429e3 Color Fill adjustment layer with Overlay blend mode at 48% opacity.

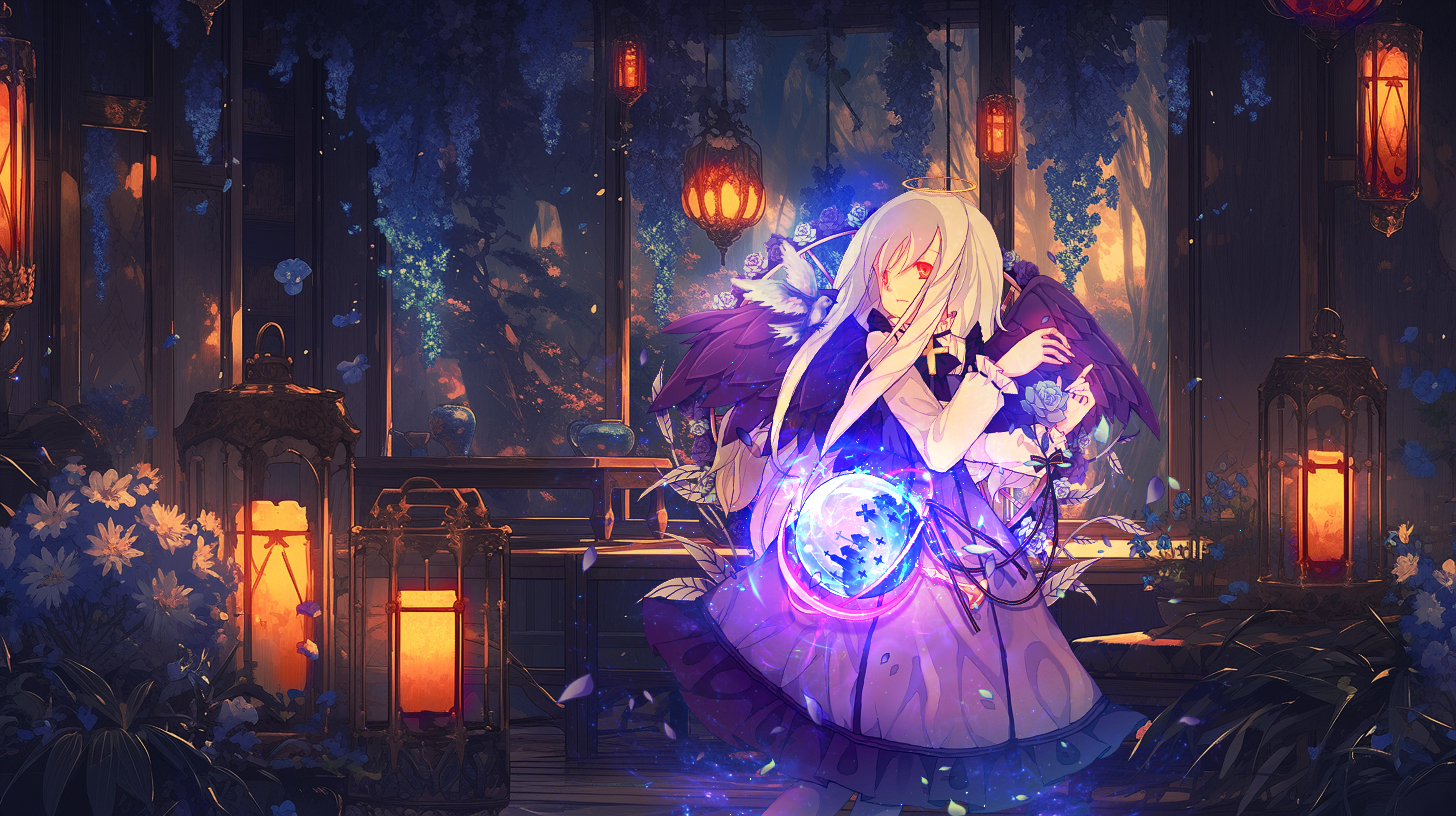
I used another fractal from dmaland ("40a") with Color Dodge blend mode at 100% opacity on the character's orb and cut away to clean it up.

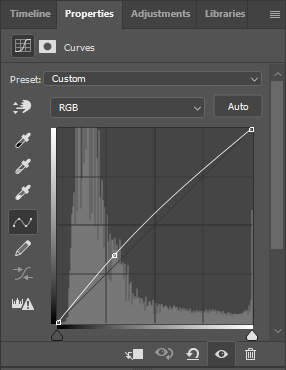
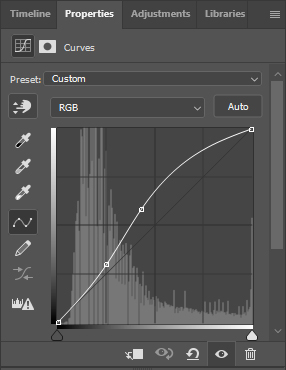
Curves adjustment layers are used to lighten up the header. The 2nd Curves layer was Color Dodge blend mode at 30% opacity.


I used another texture from Aroma of Desire to alter the colour with Vivid Light blend mode at 13% opacity.

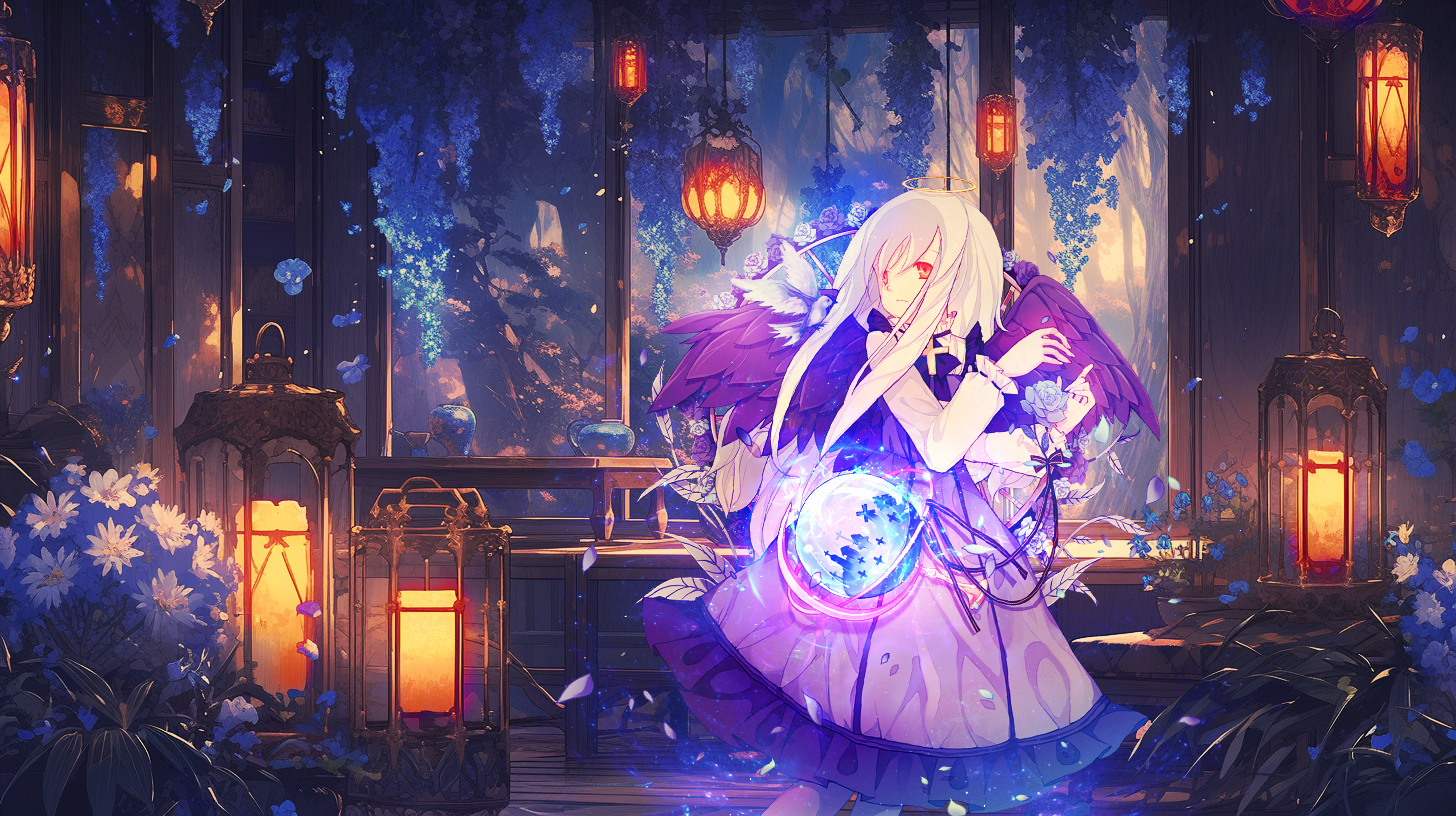
Now for shading! I tend to use a large black Brush Tool around the edges and cut away from certain areas then reduce the opacity (I used 62% in this one). I used another fractal from dmaland ("6a" used) to make the orb stand out with Color Burn blend mode. Finally, more black Brush in the middle area to make it look less washed out with Soft Light blend mode at 33% opacity.
