


Need a free web host? Deploy your repo with Netlify20/7/2023
Pre-requisites
This tutorial requires you to already have your web app on a repository
Setting up the web host
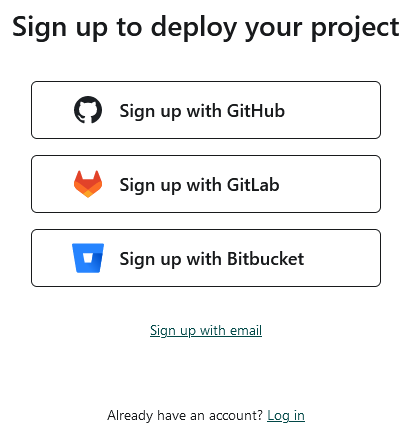
If you already have an account on GitHub, GitLab, or Bitbucket, signing up for Netlify becomes much easier. Personally, I prefer GitHub. So, go ahead and sign up for a Netlify account.
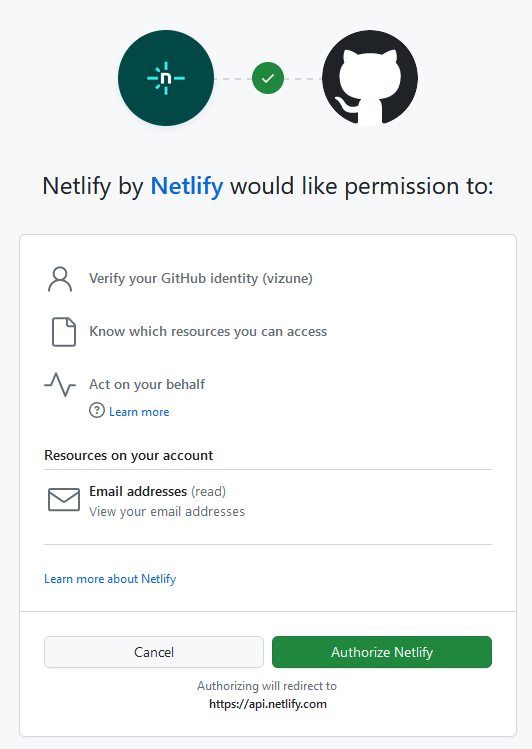
Once you're signed in, authorize Netlify to access personal user data your account, and provide some basic details about yourself and your website.
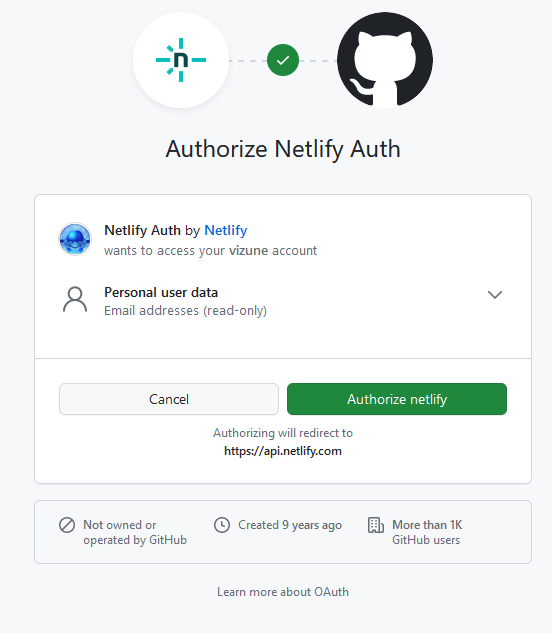

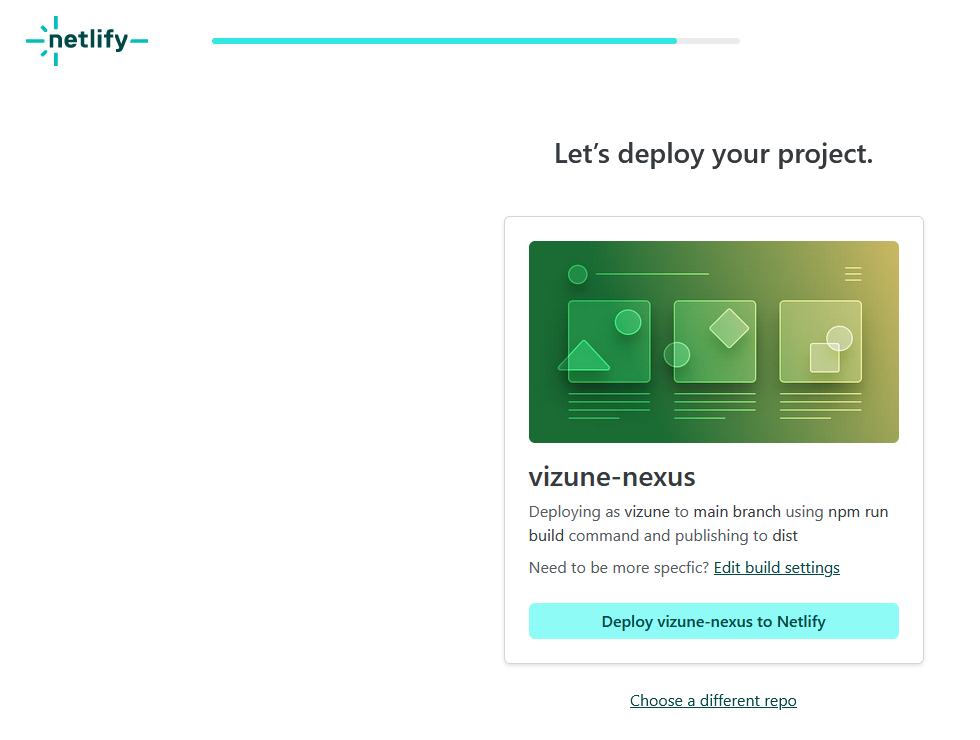
Since my project repository is on GitHub, I have selected the "GitHub" option.

A pop-up will appear, requesting authorization to access your account.
Now, you'll need to authorize Netlify to install on your account. I recommend choosing the "only select repositories" option and then selecting the specific project you want to host.
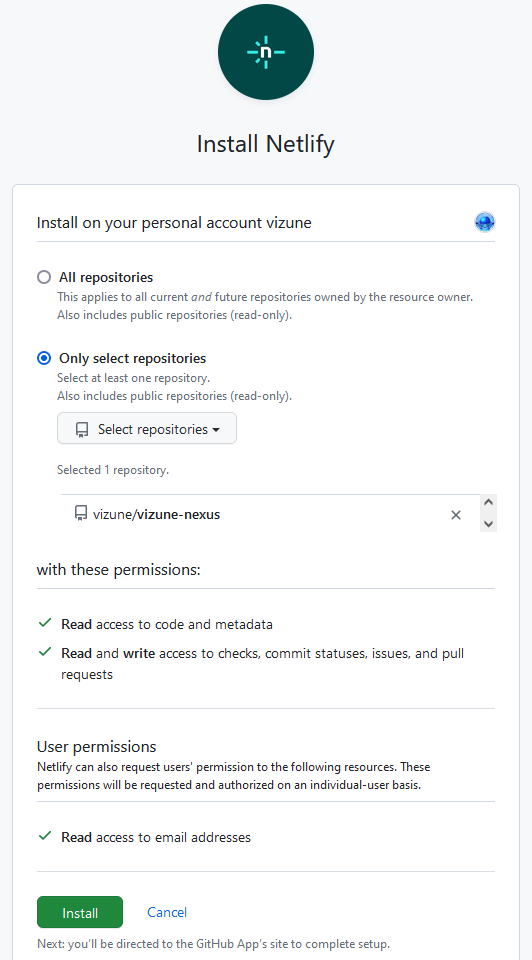
Once you've made your selections, the pop-up will close, and you'll see a list of your repositories. Click on the one you want to host, and then confirm your choice by clicking "Deploy." Now, sit back and watch the magic happen!


Site configuration
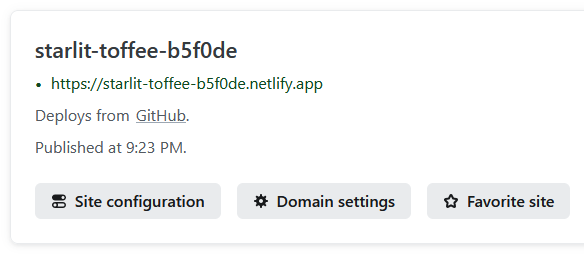
When you first set up your website on Netlify, you might notice that it has a funky autogenerated name like "starlit-toffee-b5f0de." To give your website a more personalized and memorable name, follow these steps:
Click on "Site configuration."
In the sidebar, find and click on "Site details" under the "General" section. Here, you will find the option to change the site name.
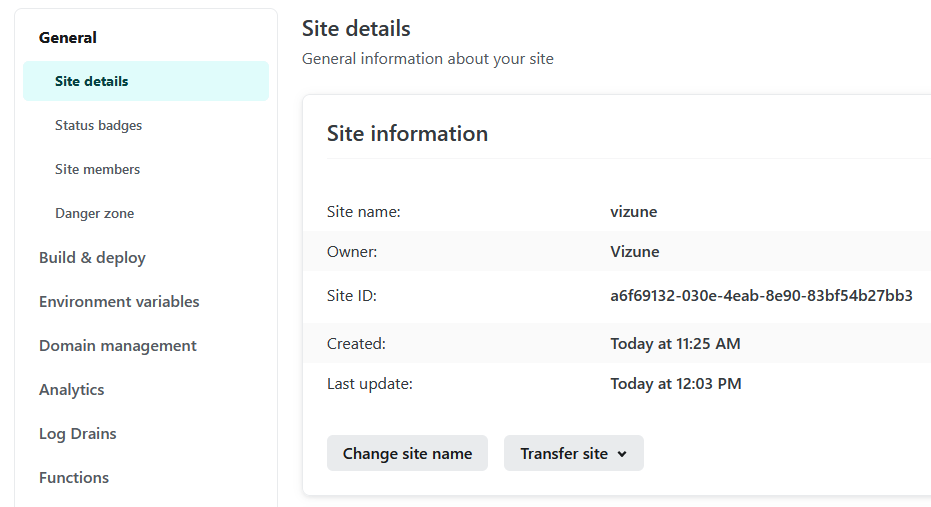
Enter your desired website name and save the changes. Your website will now have a brand new, more appealing name!


Domain namespaces
If you already own a domain name and want to use it for your Netlify app, follow these steps to set it up:
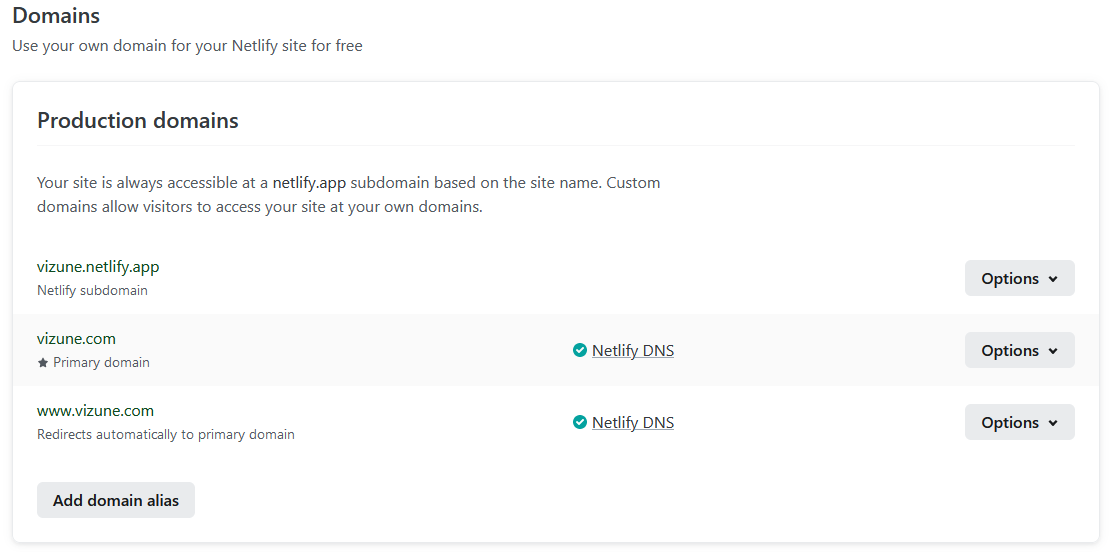
Go to "Site Configuration" and under the "Domain Management" section navigate to "Domains" and click the "Add a domain" button. Enter the domain name that you own.
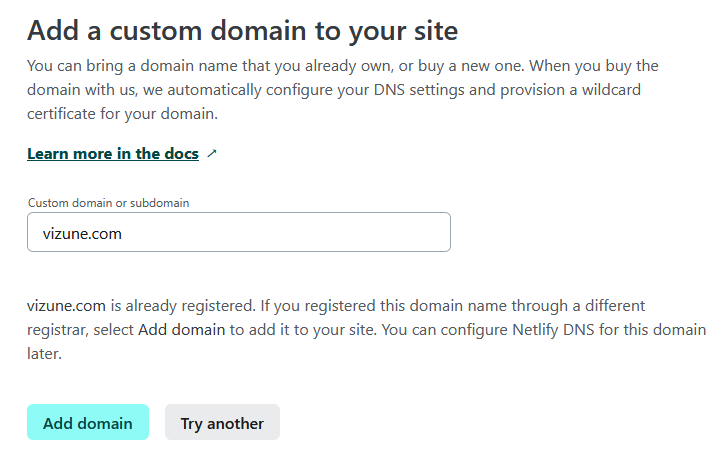
Your domain will appear in the list, but it's not yet linked. To set up the connection, click the "Options" dropdown on the right-hand side and choose "Set up Netlify DNS."

At this point, you might notice that there is an optional step to add DNS records, but you can skip this since there's already one set up for you. Instead, you'll be provided with namespaces to add to your domain host.
dns2.p02.nsone.net
dns1.p02.nsone.net
dns3.p02.nsone.net
dns4.p02.nsone.net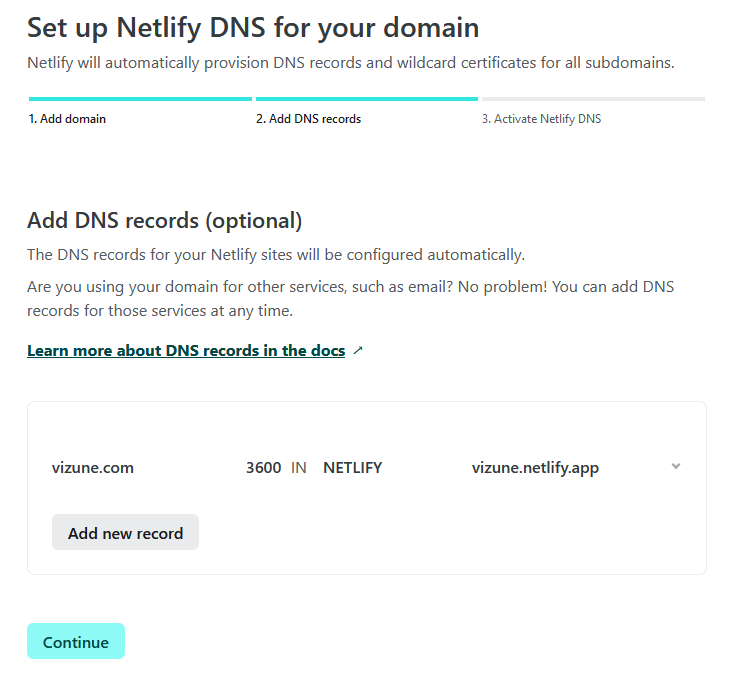
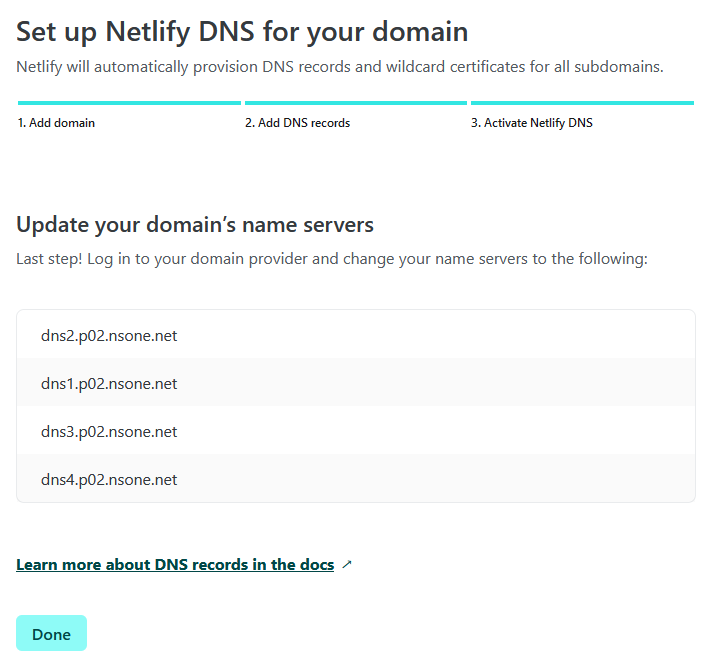
Copy and paste these namespaces into your domain settings. Depending on your domain registrar, this process might differ slightly. For instance, I personally use Kualo, and I'll paste the namespaces there.
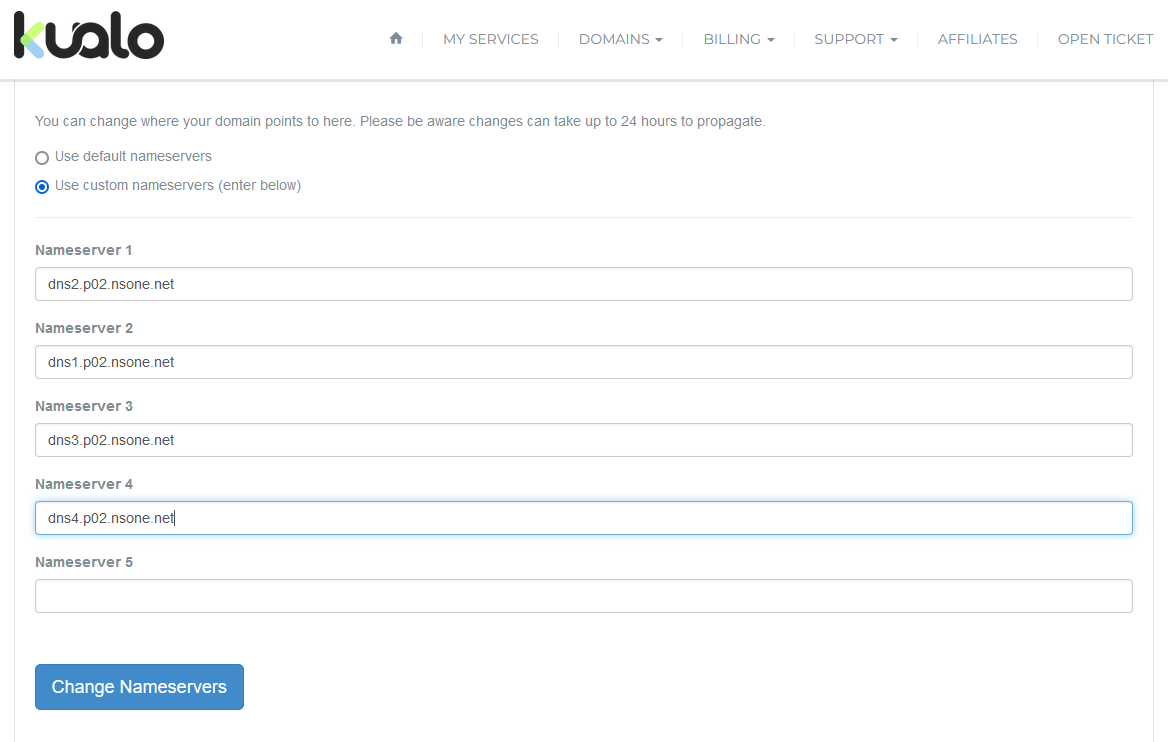
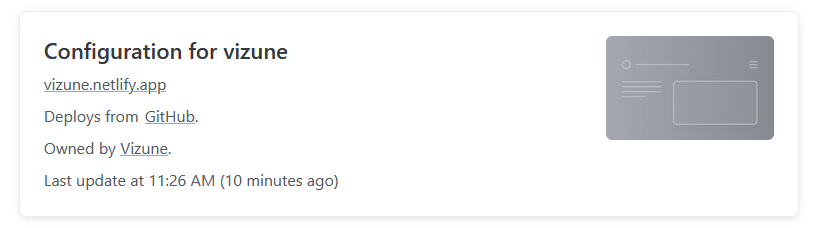
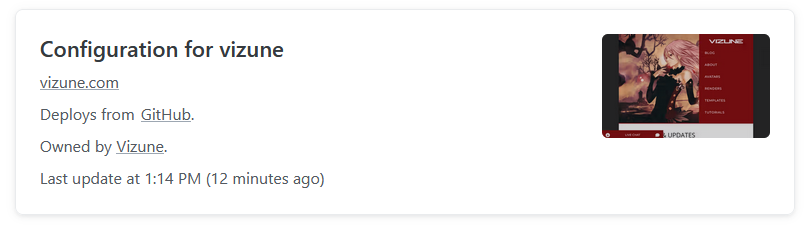
Once you've added the namespaces correctly, you'll receive confirmation that the DNS setup is complete. The card containing information about your website in the "Site Overview" will now display your custom domain.


SSL certificates
One of the standout features of Netlify, which many other free web hosts don't offer, is the built-in SSL certificate. This allows your website to use HTTPS, adding an extra layer of security and trust. Modern browsers now display a padlock next to the address bar to indicate that a site is protected by SSL.
To enable SSL for your website, follow these simple steps:
Go to "Site Configuration" and click on "HTTPS" under "Domain Management."
Netlify will automatically set up your SSL certificate for you. If you prefer, you can also add your own certificate, but the automatic setup should work seamlessly in most cases.
Once you have set up your custom domain, the SSL certificate will be active, and your visitors will enjoy a secure browsing experience.

Environment variables
Often, web apps contain sensitive information like API keys, passwords, and other secrets stored in a .env file. To maintain security, it's essential to prevent these secrets from being exposed in your repository. One way to achieve this is by adding the .env file to your .gitignore, ensuring it remains hidden.
However, not committing the .env file poses a new challenge—your app won't have access to these secrets during deployment. Luckily, Netlify provides a solution!
Follow these steps to store your app secrets securely on Netlify:
Head to "Site Configuration" and select "Environment variables."
You have two options: Copy and paste the contents of your .env file directly into the designated area. Alternatively, add the secrets individually within Netlify.
By doing this, your sensitive information is stored safely on Netlify, allowing your app to access the necessary environment variables during deployment, without exposing them in your repository.
